Summary: in this tutorial, you’ll learn how to create a new Django project, understand the project structure, and launch the Django web app from a web browser.
Django overview #
Django is a Python web framework that includes a set of components for solving common web development problems.
Django allows you to rapidly develop web applications with less code by taking advantage of its framework.
Django follows the DRY (don’t repeat yourself) principle, which allows you to maximize the code reusability.
Django uses the MVT (Model-View-Template) pattern, which is slightly similar to the MVC (Model-View-Controller) pattern.
The MVT pattern consists of three main components:
- Model – defines the data or contains the logic that interacts with the data in the database.
- View – communicates with the database via model and transfers data to the template for representing the data.
- Template – defines the template for displaying the data in the web browser.
The Django framework itself acts as a controller. The Django framework uses URL patterns that send the request to an appropriate view.
If you are familiar with MVC, the following are equivalent:
- Template (T) is equivalent to View (V) in MVC
- View (V) is equivalent to Controller (C) in MVC
- Model (M) is equivalent to Model (M) in MVC
In practice, you’ll often work with models, views, templates, and URLs in the Django application.
Django architecture #
The following picture shows how Django manages the HTTP request/response cycle using its components:

- First, a web browser requests a page specified by a URL from a web server. The web server passes the HTTP request to Django.
- Second, Django matches the URL with URL patterns to find the first match.
- Third, Django calls the View that corresponds to the matched URL.
- Fourth, the view uses a model to retrieve data from the database.
- Fifth, the model returns data to the view.
- Finally, the view renders a template and returns it as an HTTP response.
Creating a virtual environment #
A virtual environment creates an isolated environment that consists of an independent set of Python packages.
By using virtual environments, you can have multiple projects that use different versions of Django. Also, when moving the project to a different server, you can install all the dependent packages of the project using a single pip command.
The following steps show you how to create a virtual environment for a Django project using the built-in venv module:
First, create a new directory django-playground:
mkdir django-playgroundCode language: plaintext (plaintext)Second, navigate to the django-playground directory:
cd django-playgroundCode language: plaintext (plaintext)Third, create a new virtual environment using the venv module:
python -m venv venvFourth, activate the virtual environment:
venv\scripts\activateThe terminal will show the following:
(venv) D:\django-playground>Note that you can deactivate the virtual environment using the deactivate command:
deactivateInstall the Django package #
Since Django is a third-party package, you need to install it by following these steps:
First, issue the following pip command to install the Django package:
pip install djangoSecond, check the Django version:
python -m django --versionIt’ll show something like this:
4.1.1Code language: CSS (css)Notice that you likely see a higher version.
Exploring Django commands #
Django comes with a command-line utility program called django-admin that manages administrative tasks such as creating a new project and running the Django development server.
To list all available Django commands, you execute the following django-admin command like this:
django-adminOutput:
Type 'django-admin help <subcommand>' for help on a specific subcommand.

Available subcommands:

[django]
    check
    compilemessages
    createcachetable
    dbshell
    diffsettings
    dumpdata
    flush
    inspectdb
    loaddata
    makemessages
    makemigrations
    migrate
    optimizemigration
    runserver
    sendtestemail
    shell
    showmigrations
    sqlflush
    sqlmigrate
    sqlsequencereset
    squashmigrations
    startapp
    startproject
    test
    testserverCode language: plaintext (plaintext)
For now, we’re interested in the startproject command that creates a new Django project. The following startproject command creates a new project called django_project:
django-admin startproject django_projectThis command creates a django_project directory.
Let’s explore the project structure:
cd django_projectThe following shows the django_project structure:
├── django_project
| ├── asgi.py
| ├── settings.py
| ├── urls.py
| ├── wsgi.py
| └── __init__.py
└── manage.pyCode language: plaintext (plaintext)
Here’s a quick overview of each file in the Django project:
manage.pyis a command-line program that you use to interact with the project like starting a development server and making changes to the database.
The django_project is a Python package that consists of the following files:
__init__.py– is an empty file indicating that thedjango_projectdirectory is a package.settings.py– contains the project settings such as installed applications, database connections, and template directories.urls.py– stores a list of routes that map URLs to views.wsgi.py– contains the configurations that run the project as a web server gateway interface (WSGI) application with WSGI-compatible web servers.asgi.py– contains the configurations that run the project as an asynchronous web server gateway interface (AWSGI) application with AWSGI-compatible web servers.
Running the Django development server #
Django comes with a built-in web server that allows you to quickly run your Django project for development purposes.
The Django development web server will continuously check for code changes and reload the project automatically. However, you still need to restart the web server manually in some cases such as adding new files to the project.
To run the Django development server, you use the runserver command:
python manage.py runserverCode language: CSS (css)Output:
Watching for file changes with StatReloader
Performing system checks...
System check identified no issues (0 silenced).
...
Django version 4.1.1, using settings 'django_project.settings'
Starting development server at http://127.0.0.1:8000/
Quit the server with CTRL-BREAK.
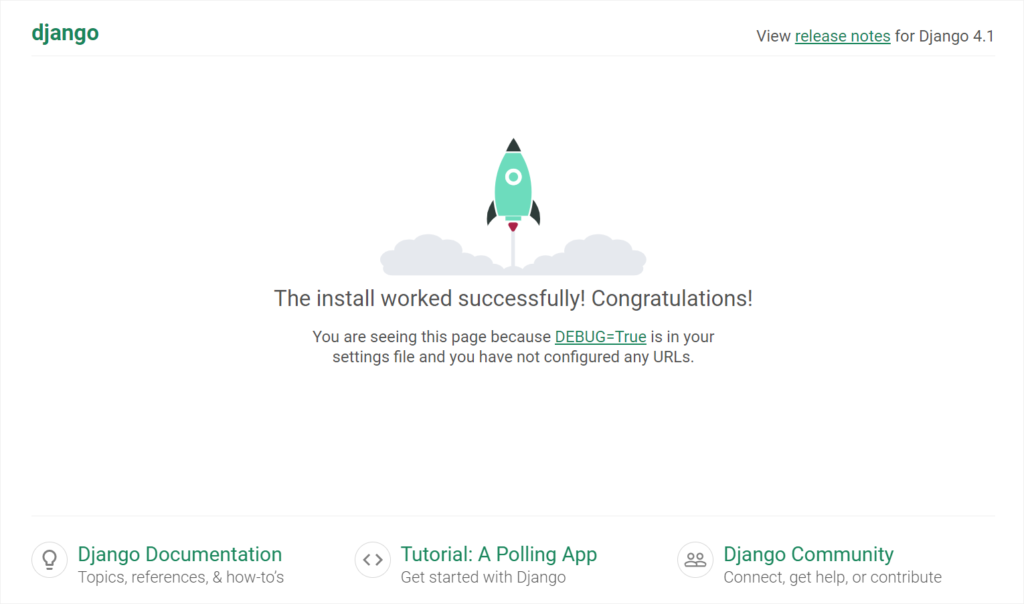
Code language: plaintext (plaintext)Once the server is up and running, you can open the web app using the URL listed in the output. Typically, the URL is something like this:
http://127.0.0.1:8000/Code language: JavaScript (javascript)Now, you can copy and paste the URL to a web browser. It should show the following webpage:
The urls.py contains a default route that maps /admin path with the admin.site.urls view:
from django.contrib import admin
from django.urls import path

urlpatterns = [
    path('admin/', admin.site.urls),
]Code language: Python (python)
To open the admin page, you use the following URL:
http://127.0.0.1:8000/adminCode language: JavaScript (javascript)It’ll show a login page:
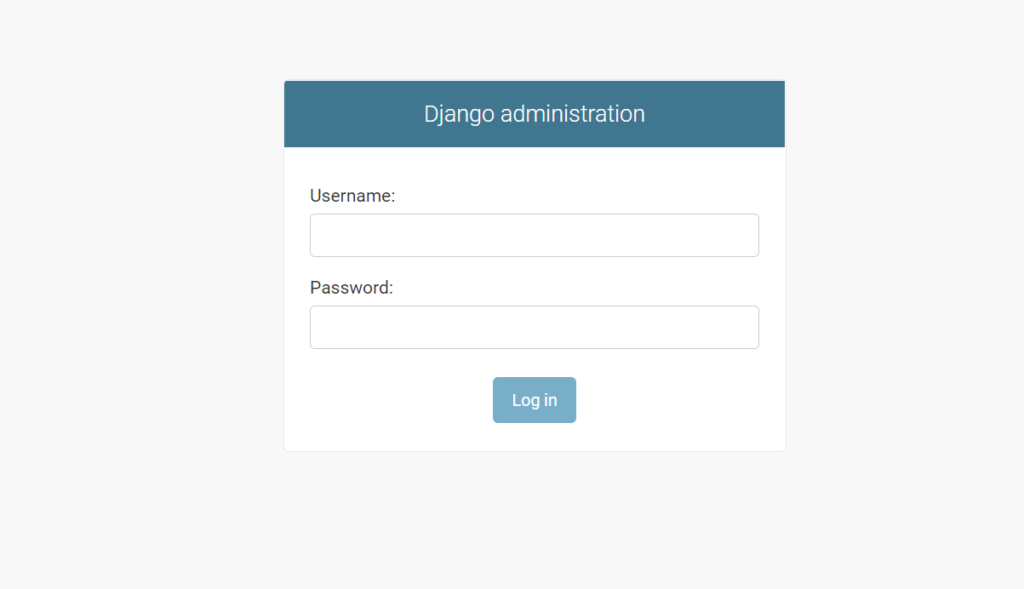
Stop the Django development server #
To stop the Django development server, you open the terminal and press the Ctrl-C (or Command-C) twice.
Create requirements.txt file #
The requirements.txt file contains all dependencies for a specific Django project. It also contains the dependencies of dependencies.
To create a requirements.txt file, you run the following pip command:
pip freeze > requirements.txtCode language: plaintext (plaintext)When you move the project to a new server e.g., a test or production server, you can install all the dependencies used by the current Django project using the following pip command:
pip install -r requirements.txtCode language: plaintext (plaintext)Download the Django Project source code
Summary #
- Django is a Python web framework that allows you to rapidly develop web applications.
- Django uses the MVT (Model-View-Template) pattern, which is similar to the MVC (Model-View-Controller) pattern.
- Use the
django-admin startproject new_projectcommand to create a new project. - Use the
python manage.py runservercommand to run the project using the Django development web server. - Press Ctrl-C (or Cmd-C) to stop the Django development web server.