Summary: in this tutorial, you’ll learn how to create a Django Todo App project including:
- Create a virtual environment
- Install the Django package
- Create a new project
- Adding static files
- Setting up templates
- Create the todo app
- Create the Task model and apply migrations
You can download the final code for this Django Todo App here.
Creating a virtual environment #
Run the following python command to create a virtual environment using the built-in venv module:
python -m venv venvCode language: plaintext (plaintext)And activate the venv virtual environment using the following command:
venv\scripts\activateCode language: plaintext (plaintext)If you use macOS and Linux, you can use the following python3 command to create a new virtual environment:
python3 -m venv venvAnd activate it using the following command:
source venv/bin/activateCode language: plaintext (plaintext)Install the Django package #
Since Django is a third-party package, you need to install it using the following pip command:
pip install djangoCode language: plaintext (plaintext)Creating a new project #
To create a new project todo_list, you use the startproject command:
django-admin startproject todo_listCode language: plaintext (plaintext)Adding static files #
First, create a static directory inside the project directory:
mkdir staticCode language: JavaScript (javascript)Second, set the STATICFILES_DIRS to the static directory in the settings.py after the STATIC_URL file so that Django can find the static files in the static directory:
STATIC_URL = 'static/'
STATICFILES_DIRS = [BASE_DIR / 'static']
Code language: Python (python)
Third, create three directories js, css, and images inside the static directory:
cd static
mkdir css images jsCode language: JavaScript (javascript)
The static directory will look like this:
├── static
|  ├── css
|  ├── images
|  └── jsCode language: plaintext (plaintext)
Finally, copy the style.css file and feature.jpg image from the download file to the css and images directories.
Setting up templates #
First, create a templates directory inside the project directory:
mkdir templatesCode language: Python (python)Second, create a base.html template inside the templates directory with the following contents:
{%load static %}
<!DOCTYPE html>
<html lang="en">
<head>
<meta charset="UTF-8">
<meta name="viewport" content="width=device-width, initial-scale=1.0">
<link rel="stylesheet" href="{% static 'css/style.css' %}" />
<title>Todo List</title>
</head>
<body>
<header class="header">
<div class="container">
</div>
</header>
<main>
<div class="container">
</div>
</main>
<footer class="footer">
<div class="container">
<p>© Copyright {% now "Y" %} by <a href="https://www.pythontutorial.net">Python Tutorial</a></p>
</div>
</footer>
</body>
</html>Code language: HTML, XML (xml)The base.html template uses the style.css file from the static/css directory.
Third, configure the template directory in the TEMPLATES of the settings.py file so that Django can find the base.html template.
TEMPLATES = [
    {
        'BACKEND': 'django.template.backends.django.DjangoTemplates',
        'DIRS': [BASE_DIR / 'templates' ],
        'APP_DIRS': True,
        'OPTIONS': {
            'context_processors': [
                'django.template.context_processors.debug',
                'django.template.context_processors.request',
                'django.contrib.auth.context_processors.auth',
                'django.contrib.messages.context_processors.messages',
            ],
        },
    },
]
Code language: Python (python)
Fourth, create the home.html template inside the templates directory:
{%extends 'base.html'%}
{%load static %}
{%block content%}
	<section class="feature">
		<div class="feature-content">
			<h1>Todo</h1>
			<p>Todo helps you more focus, either work or play.</p>
			<a class="btn btn-primary cta" href="#">Get Started</a>
		</div>
		<img src="{%static 'images/feature.jpg'%}" alt="" class="feature-image">
	</section>
{%endblock content%}Code language: JavaScript (javascript)
Creating a todo application #
First, create a todo app in the todo_list project using the startapp command:
django-admin startapp todoCode language: Python (python)Second, register the todo app in the settings.py of the todo_list project by adding it to the INSTALLED_APPS list:
INSTALLED_APPS = [
    'django.contrib.admin',
    'django.contrib.auth',
    'django.contrib.contenttypes',
    'django.contrib.sessions',
    'django.contrib.messages',
    'django.contrib.staticfiles',
    'todo',
]
Code language: Python (python)
Third, create the templates directory inside the todo app directory:
cd todo
mkdir templatesCode language: Python (python)
Fourth, create the todo directory inside the templates directory. The directory name must be the same as the app name.
cd templates
mkdir todoCode language: Python (python)
Fifth, define a home() view function inside the views.py of the todo app that renders the home.html template:
from django.shortcuts import render

def home(request):
    return render(request,'home.html')Code language: Python (python)
Sixth, create urls.py file in the todo app and define a route that maps to the home URL with the home() view function:
from django.urls import path
from . import views

urlpatterns = [
    path('', views.home, name='home'),
]Code language: Python (python)
Seventh, include the urls.pytodo app in the urls.py
from django.contrib import admin
from django.urls import path, include

urlpatterns = [
    path('admin/', admin.site.urls),
    path('',include('todo.urls'))
]
Code language: Python (python)
Eighth, run the Django development server from the todo_list directory:
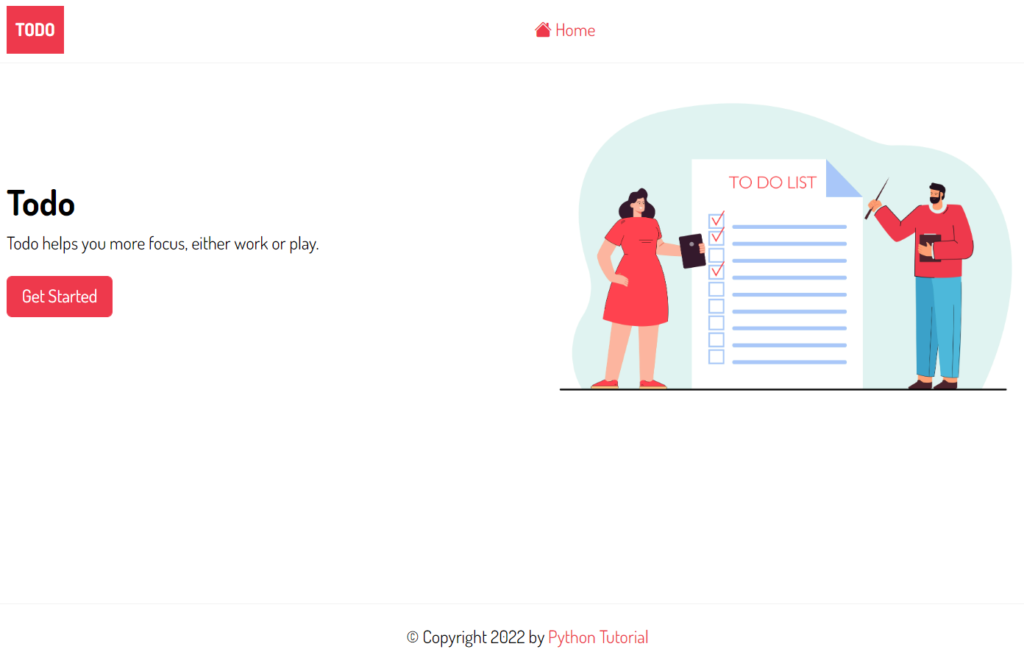
python manage.py runserverCode language: Python (python)Finally, open http://127.0.0.1:8000/ on a web browser, you’ll see the blog page that shows the homepage:
Create the Task model #
First, define the Task model in the models.py of the todo app:
from django.db import models
from django.contrib.auth.models import User

class Task(models.Model):
    title = models.CharField(max_length=255)
    description = models.TextField(null=True, blank=True)
    completed = models.BooleanField(default=False)
    created_at = models.DateTimeField(auto_now_add=True)
    user = models.ForeignKey(User,on_delete=models.CASCADE, null=True, blank=True)

    def __str__(self):
        return self.title

    class Meta:
        ordering = ['completed']Code language: Python (python)
Second, register the Task model in the admin.py of the todo app so that you can manage it on the admin page:
from django.contrib import admin

from .models import Task

admin.site.register(Task)Code language: Python (python)
Third, make migrations by running the makemigrations command:
python manage.py makemigrationsCode language: plaintext (plaintext)Output:
Migrations for 'todo':
  todo\migrations\0001_initial.py
    - Create model TaskCode language: plaintext (plaintext)
Fourth, apply the migrations to the database:
python manage.py migrateCode language: plaintext (plaintext)Output:
Operations to perform:
  Apply all migrations: admin, auth, contenttypes, sessions, todo
Running migrations:
  Applying contenttypes.0001_initial... OK
  Applying auth.0001_initial... OK
  Applying admin.0001_initial... OK
  Applying admin.0002_logentry_remove_auto_add... OK
  Applying admin.0003_logentry_add_action_flag_choices... OK
  Applying contenttypes.0002_remove_content_type_name... OK
  Applying auth.0002_alter_permission_name_max_length... OK
  Applying auth.0003_alter_user_email_max_length... OK
  Applying auth.0004_alter_user_username_opts... OK
  Applying auth.0005_alter_user_last_login_null... OK
  Applying auth.0006_require_contenttypes_0002... OK
  Applying auth.0007_alter_validators_add_error_messages... OK
  Applying auth.0008_alter_user_username_max_length... OK
  Applying auth.0009_alter_user_last_name_max_length... OK
  Applying auth.0010_alter_group_name_max_length... OK
  Applying auth.0011_update_proxy_permissions... OK
  Applying auth.0012_alter_user_first_name_max_length... OK
  Applying sessions.0001_initial... OK
  Applying todo.0001_initial... OKCode language: plaintext (plaintext)
Fifth, create a superuser by executing the createsuperuser command:
python manage.py createsuperuserCode language: plaintext (plaintext)Output:
Username: john
Email address:
Password:
Password (again):
Superuser created successfully.Code language: plaintext (plaintext)
Sixth, restart the Django development server:
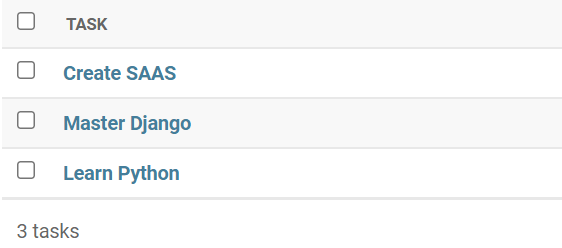
python manage.py runserverCode language: plaintext (plaintext)Seven, log in to the admin page and create three tasks:
You can download the final code for this Django Todo App here.