Summary: in this tutorial, you’ll learn how to use Django flash message messages including creating flash messages and displaying them.
This tutorial begins where creating the Django form tutorial left off.
Introduction to the Django Flash Messages #
A flash message is a one-time notification message. To display the flash message in Django, you use the messages from django.contrib module:
from django.contrib import messagesCode language: Python (python)The messages have some useful functions for displaying information, warning, and error messages:
messages.debug– displays a debug message.messages.info– displays an informational message.messages.success– displays a success message.messages.warning– displays a warning message.messages.error– displays an error message.
All of these functions accept an HttpRequest object as the first argument and a message as the second argument.
Django Flash message example #
We’ll implement flash messages for the blog app in the django_project.
Creating Django flash messages #
Modify the create_post() function by adding the flash messages:
from django.shortcuts import render,redirect
from django.contrib import messages
from .models import Post
from .forms import PostForm


def create_post(request):
    if request.method == 'GET':
        context = {'form': PostForm()}
        return render(request,'blog/post_form.html',context)
    elif request.method == 'POST':
        form = PostForm(request.POST)
        if form.is_valid():
            form.save()
            messages.success(request, 'The post has been created successfully.')
            return redirect('posts')
        else:
            messages.error(request, 'Please correct the following errors:')
            return render(request,'blog/post_form.html',{'form':form})
Code language: Python (python)
How it works.
First, import messages from the django.contrib:
from django.contrib import messagesCode language: Python (python)Second, create a success message after saving the form values into the database by calling the success() function:
messages.success(request, 'The post has been created successfully.')Code language: Python (python)Third, create an error message if the form is not valid by calling the error() function:
messages.error(request, 'Please correct the following errors:')Code language: Python (python)Displaying flash messages #
Modify the base.html template to display flash messages:
{%load static %}
<!DOCTYPE html>
<html lang="en">
<head>
<meta charset="UTF-8" />
<meta name="viewport" content="width=device-width, initial-scale=1.0" />
<link rel="stylesheet" href="{% static 'css/style.css' %}" />
<script src="{% static 'js/app.js' %}" defer></script>
<title>My Site</title>
</head>
<body>
{% if messages %}
<div class="messages">
{% for message in messages %}
<div class="alert {% if message.tags %}alert-{{ message.tags }}"{% endif %}>
{{ message }}
</div>
{% endfor %}
</div>
{% endif %}
{%block content%}
{%endblock content%}
</body>
</html>
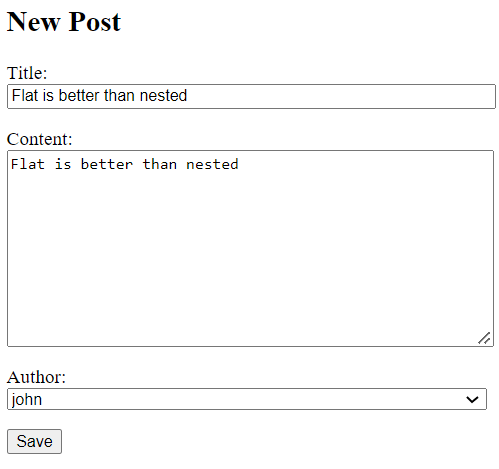
Code language: HTML, XML (xml)If you navigate to the form http://127.0.0.1/post/create, enter the values, and click the Save button:
… you’ll see a success message:
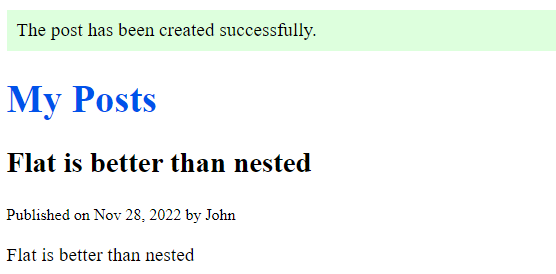
If you refresh the page, the message will disappear because it displays only once.
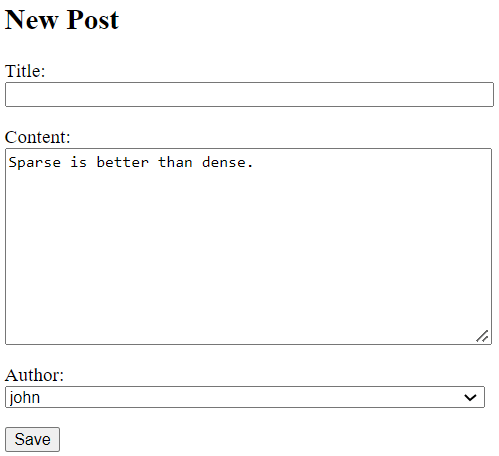
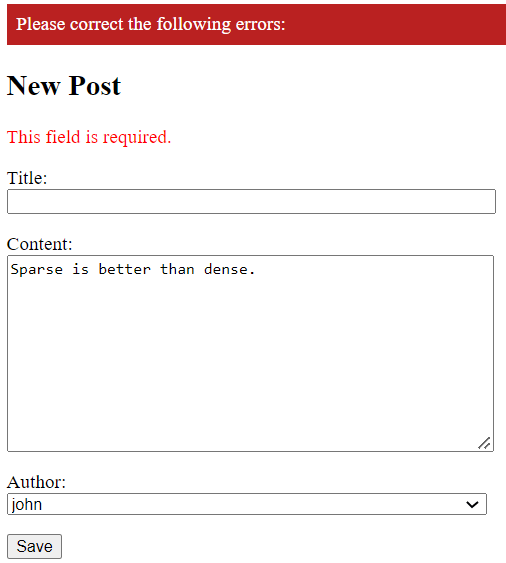
When you skip entering a value for the title field and click the Save button:
… you’ll see an error message:
Summary #
- Use the
messagesfromdjango.contribto create and display messages.