Summary: in this tutorial, you’ll learn how to create a PyQt application that displays the Hello World message.
Installing PyQt package #
PyQt is a Python binding for the Qt cross-platform application toolkit. Because PyQt is a third-party package, you need to install it before use.
PyQt6 is the latest version of PyQt at the time of writing this tutorial. To install PyQt6 using PyPI on Windows, you use the following pip command:
pip install PyQt6Code language: Python (python)If you use macOS or Linux, you need to use the pip3 command:
pip3 install PyQt6Code language: Python (python)Creating the first PyQt program #
The following program displays a window with the title Hello World on the screen:
from PyQt6.QtWidgets import QApplication, QWidget

# create the QApplication
app = QApplication([])

# create the main window
window = QWidget(windowTitle='Hello World')
window.show()

# start the event loop
app.exec()Code language: Python (python)
To run the application, you use the python command:
python main.pyCode language: Python (python)If you use macOS or Linux, you can use the python3 command:
python3 main.pyCode language: Python (python)The following shows the window:
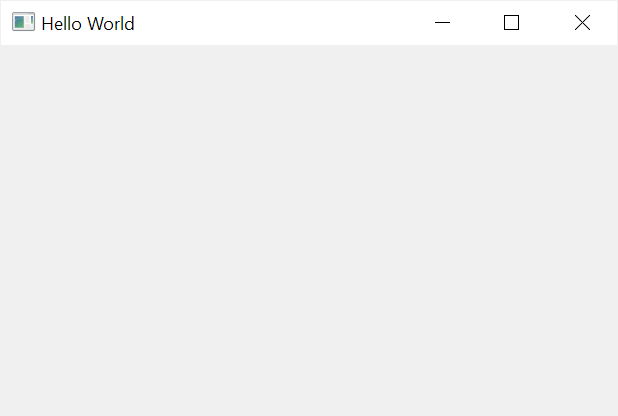
How it works.
First, import the QApplication and QMainWidget classes from the PyQt6.Widgets:
from PyQt6.QtWidgets import QApplication, QWidgetCode language: Python (python)Second, create a QApplication object:
app = QApplication(sys.argv)Code language: Python (python)Each PyQt application needs one and only one QApplication object.
Third, create a new instance of the QWidget with the title 'Hello World' and call the show() method to display the window:
window = QWidget(windowTitle='Hello World')
window.show()Code language: Python (python)
Finally, call the exec() method of the QMainApplication instance to start the event loop:
app.exec()Code language: Python (python)Introduction to the event loop #
Every PyQt application needs one instance of QApplication class. The QApplication object holds the event loop of the application.
The event loop is responsible for managing all events of the application including user interactions with the GUI.
When you interact with the Qt application e.g., by pressing a key or pushing a button, PyQt generates an event and places it on an event queue.
The event loop continuously checks the event queue. If the event loop finds an event, it’ll forward the event to a specific event handler.
The event handler processes the event and passes the control back to the event loop for processing the next events.
The following picture illustrates how the event loop works:

Note that each PyQt application has one and only one event loop.
Supporting command line argument & return code #
A PyQt program may accept one or more command line arguments. To enable this, you need to pass the argv from the sys module to the QApplication like this:
app = QApplication(sys.argv)Code language: Python (python)The app.exec() returns 0 for success or other value for failure.
If a PyQt program is executed from a Shell i.e., the command prompt on Windows or the Terminal on macOS and Linux, it should return a code indicating the program’s success or failure.
To do this, you call the sys.exit() function and pass the result of the app.exec() to it as follows:
sys.exit(app.exec())Code language: Python (python)By doing this the Shell can receive the return code from the PyQt application.
The following shows the revised Hello World program:
import sys
from PyQt6.QtWidgets import QApplication, QWidget


# create the QApplication
app = QApplication(sys.argv)

# create the main window
window = QWidget(windowTitle='Hello World')
window.show()

# start the event loop
sys.exit(app.exec())Code language: Python (python)
Creating a Qt program template #
The following illustrates the PyQt Hello World in an object-oriented way:
Note that if you are not familiar with object-oriented programming, you can follow the Python OOP tutorial.
import sys
from PyQt6.QtWidgets import QApplication, QWidget


class MainWindow(QWidget):
    def __init__(self, *args, **kwargs):
        super().__init__(*args, **kwargs)

        # set the window title
        self.setWindowTitle('Hello World')

        # show the window
        self.show()


if __name__ == '__main__':
    app = QApplication(sys.argv)

    # create the main window
    window = MainWindow()

    # start the event loop
    sys.exit(app.exec())Code language: Python (python)
How it works.
First, define the MainWindow class that inherits from the QWiget:
class MainWindow(QWidget):
    def __init__(self, *args, **kwargs):
        super().__init__(*args, **kwargs)

        # set the window title
        self.setWindowTitle('Hello World')

        # show the window
        self.show()Code language: Python (python)
In the __init__() method, we set the widow title and call the show() method to display the window.
Next, add the if __name__ == ‘__main__’ block to include the code if the program is executed directly. If the script is imported as a module, the code in this block will not be executed.
if __name__ == '__main__':Code language: Python (python)Then, create a QApplication object:
app = QApplication(sys.argv)Code language: Python (python)After that, create a new instance of the MainWindow:
window = MainWindow()Code language: Python (python)Finally, start the event loop:
sys.exit(app.exec())Code language: Python (python)Summary #
- Each PyQt application has one and only one
QApplicationobject. TheQApplicationobject holds an event loop. - An event loop manages all events of the PyQt application. It checks the event queue continuously and forwards the events to their handlers.
- Call the
app.exec()to start the event loop. - Use
QMainWindowto create the main window for the PyQt application and call theshow()method to display the window on the screen.